Give it a face.
The round AMOLED display shows animated eyes and provides the touch interface.
A small robot for your desk.
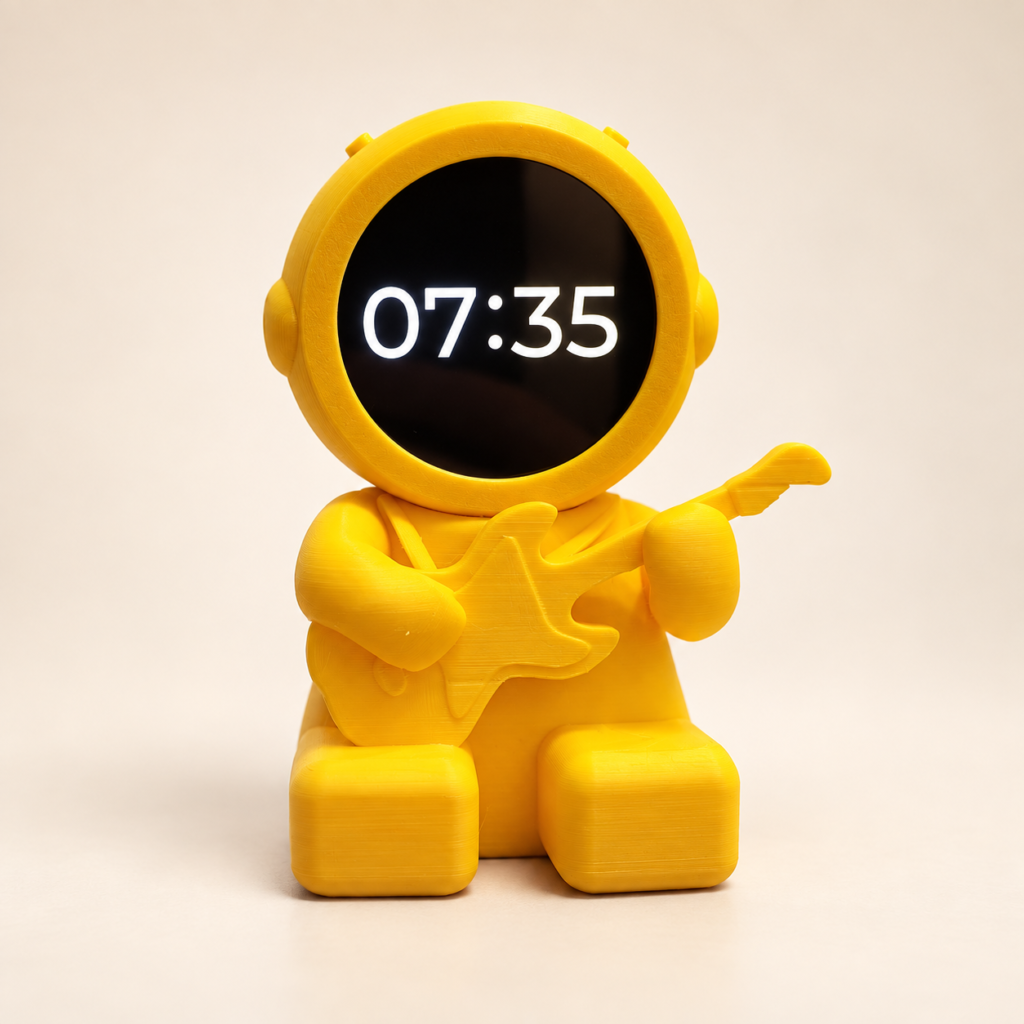
A small, 3D-printable robot with a touch display, animated eyes and sound.
Digital files only · 3D printer and electronics required

What is in the build
The Musician firmware gives the hardware something to do. These are the parts you can try, change and build on.
The part you get to make
The prototype is yellow, but the enclosure is yours to print. Once the parts are ready, connect the electronics and set up the firmware on your own hardware.
See the parts listThe digital package
This is the starting point for building RW Desk Robot at home. You get the printable enclosure files, the firmware source and the notes needed to set up the electronics.
A good fit if you already know your way around a 3D printer and an ESP32.
Files for one desk robot
Digital files only. You will need your own printer, filament, electronics and any third-party services.
Before you start
You will need a 3D printer, filament and the final STL set. Print settings and assembly notes will be included with the release.
Plan for a Waveshare ESP32-S3-Touch-AMOLED-1.75, internal speaker, wiring and USB power. Bluetooth audio needs a separate classic ESP32 D1 mini or ESP32-WROOM-32 board.
Flash the source, connect to 2.4 GHz Wi-Fi and add your own Gemini API key. Then set up the clock, weather and audio options.
*The Bluetooth board sends audio to a paired speaker. An ESP32-C3 or ESP8266 is not a replacement for that board. This is a digital DIY project; no assembled robot is shipped.
Things worth knowing
No. It is a digital package: STL files and source code. You print the enclosure, buy the electronics and put it together yourself.
Wi-Fi is needed for voice and online features. You bring your own Gemini API key. Any third-party limits or charges are separate.
The separate classic ESP32 sends audio to a paired Bluetooth speaker. It is not phone-to-robot Bluetooth and it is not built into the enclosure.
No. The guitar is part of the enclosure. The project covers the display, audio and firmware—not motors or a mechanical guitar.
Yes. The source is meant to be read and edited. You will configure your own services and keep the licenses for the included components.
It is easier if you are already comfortable with wiring, flashing ESP32 boards and basic troubleshooting. Read the final hardware notes before buying parts.